Published on 2/27/2025
Setting up a simulation for hanging cables in Blender has a few steps, including the scale, goals and potentially hooks. Let's dive in.
The first consideration you'll have is the initial state. When you start your simulation, the cables have to settle in place first given gravity and any collisions that might happen. Depending on your stiffness settings, the length and so on, this might take a few hundred frames. Take this into consideration when you have other elements on your timeline.
The next thing you'll want to consider is the scale of the scene. Soft body sims don't work great on shapes less than 0.05m in size. The thresholds for the calculations are too small and damping and collisions behaves weird. Scale your scene for your cables so that your cable thickness is > 0.04m (40cm). If you're not doing collisions, you might not need to do this.
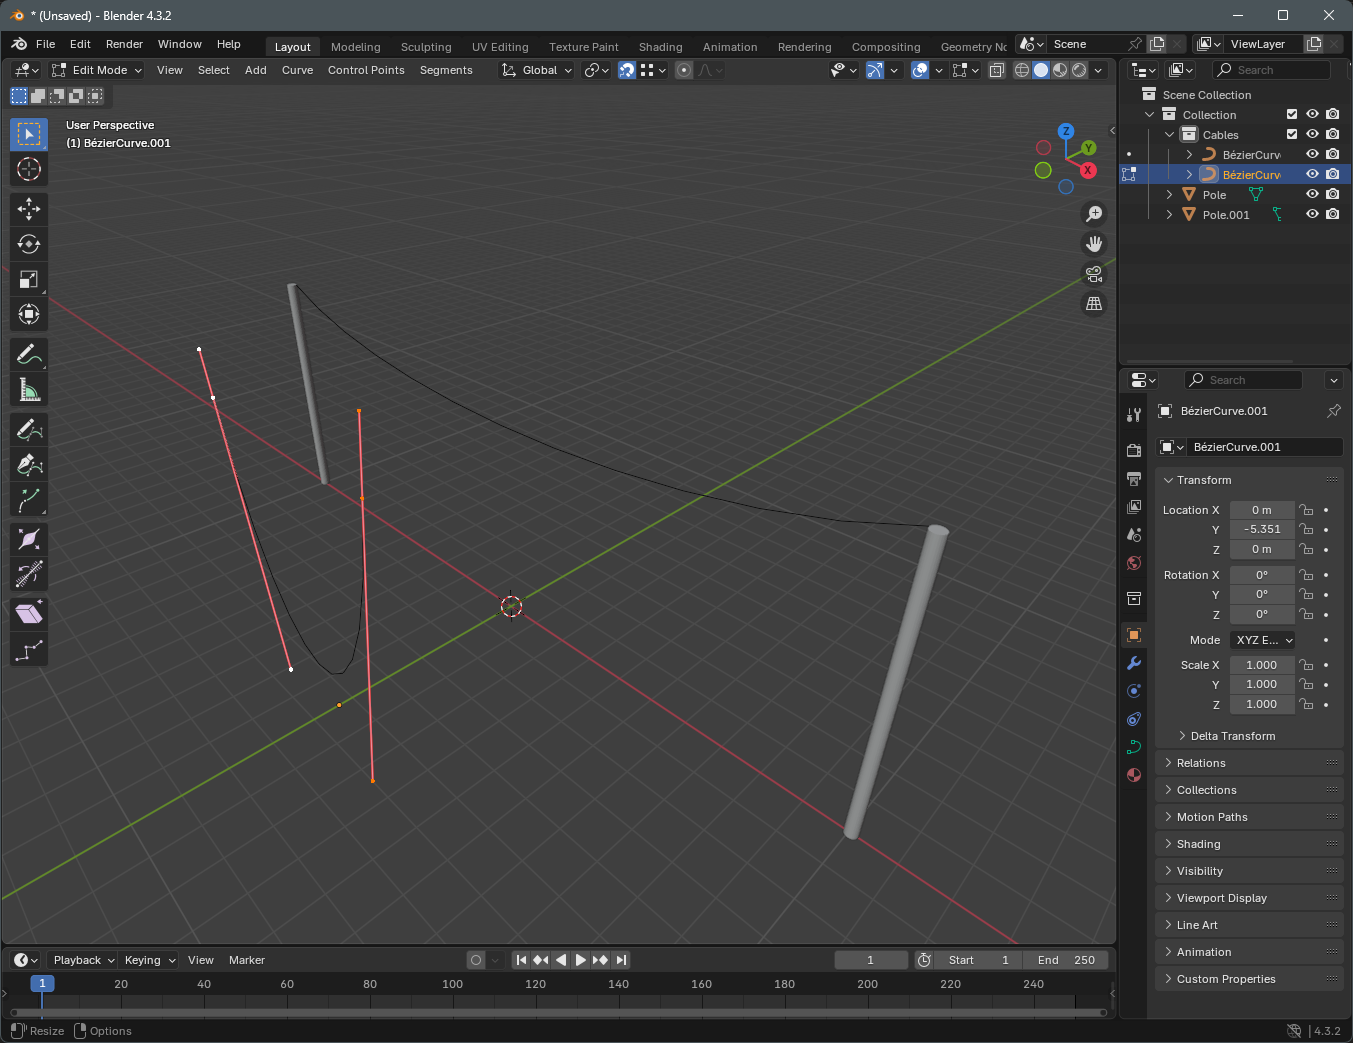
Start with curves and lay out your cables in their initial position. Don't use too many vertices in your cables. Ideally only two (start and end) with your handles defining the cable. You can have more vertices of course, but I find that the settling takes much longer as it tries to work out kinks.
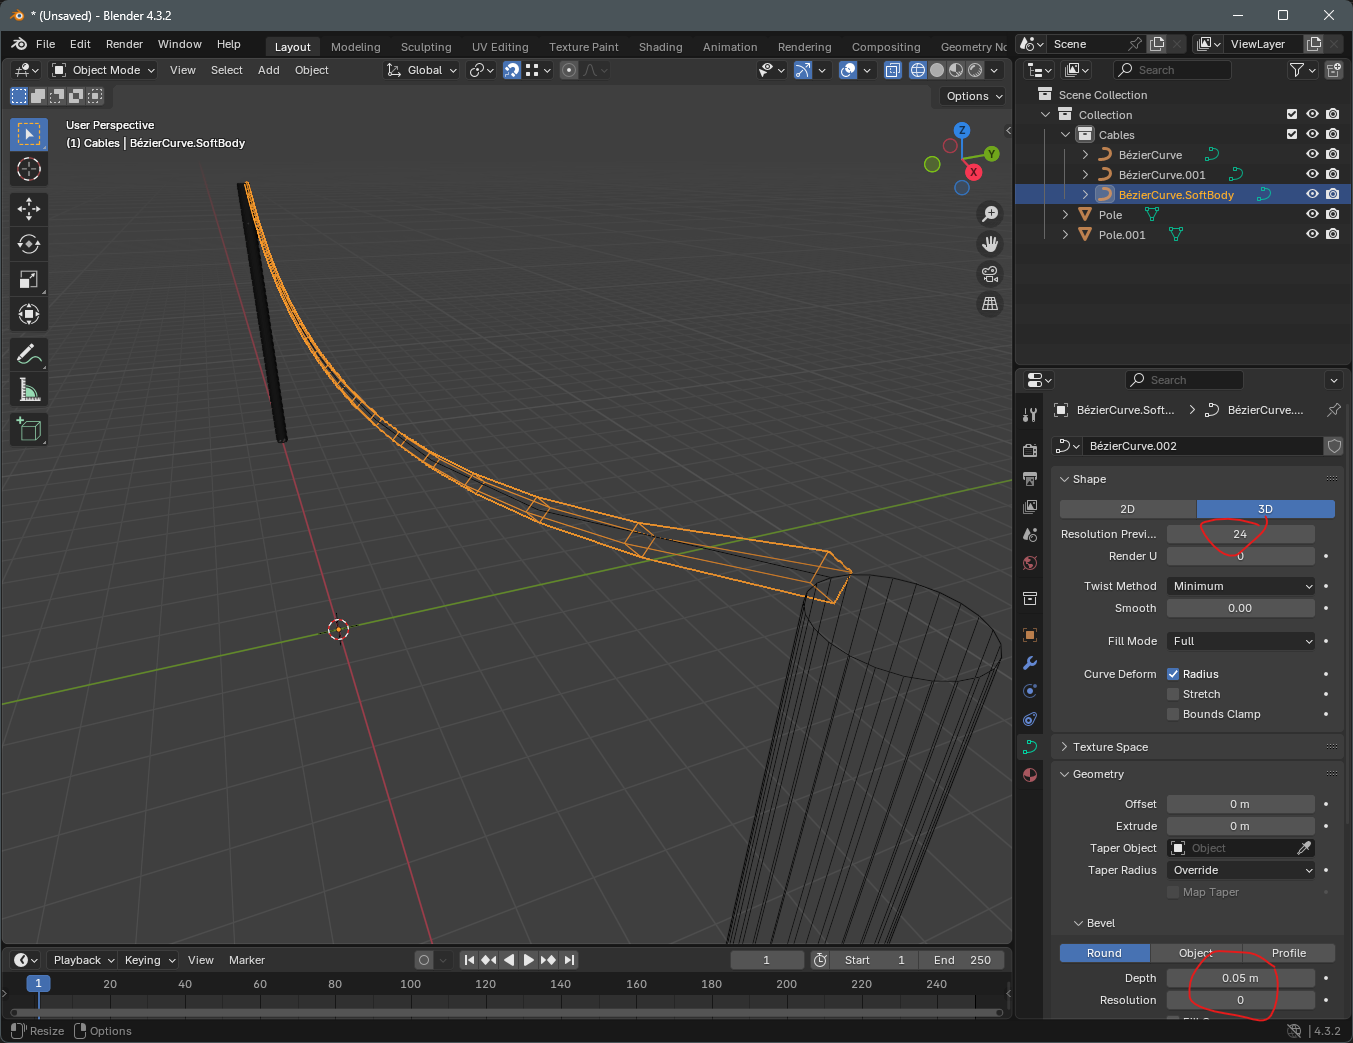
Once you've got it laid out, duplicate your curves and set them to Bevel with 0 Resolution and your desired Depth. This will create square tubes that will define your soft body shapes. You can set the number of Resolution U to approximate your desired cable closely, but not too closely. Collision calculations will blow up the more geometry you include in this shape. Unfortunately it's not possible to carry on working with the curves directly, because their vertices cannot be assigned to a vertex group. Convert these bodies to meshes.
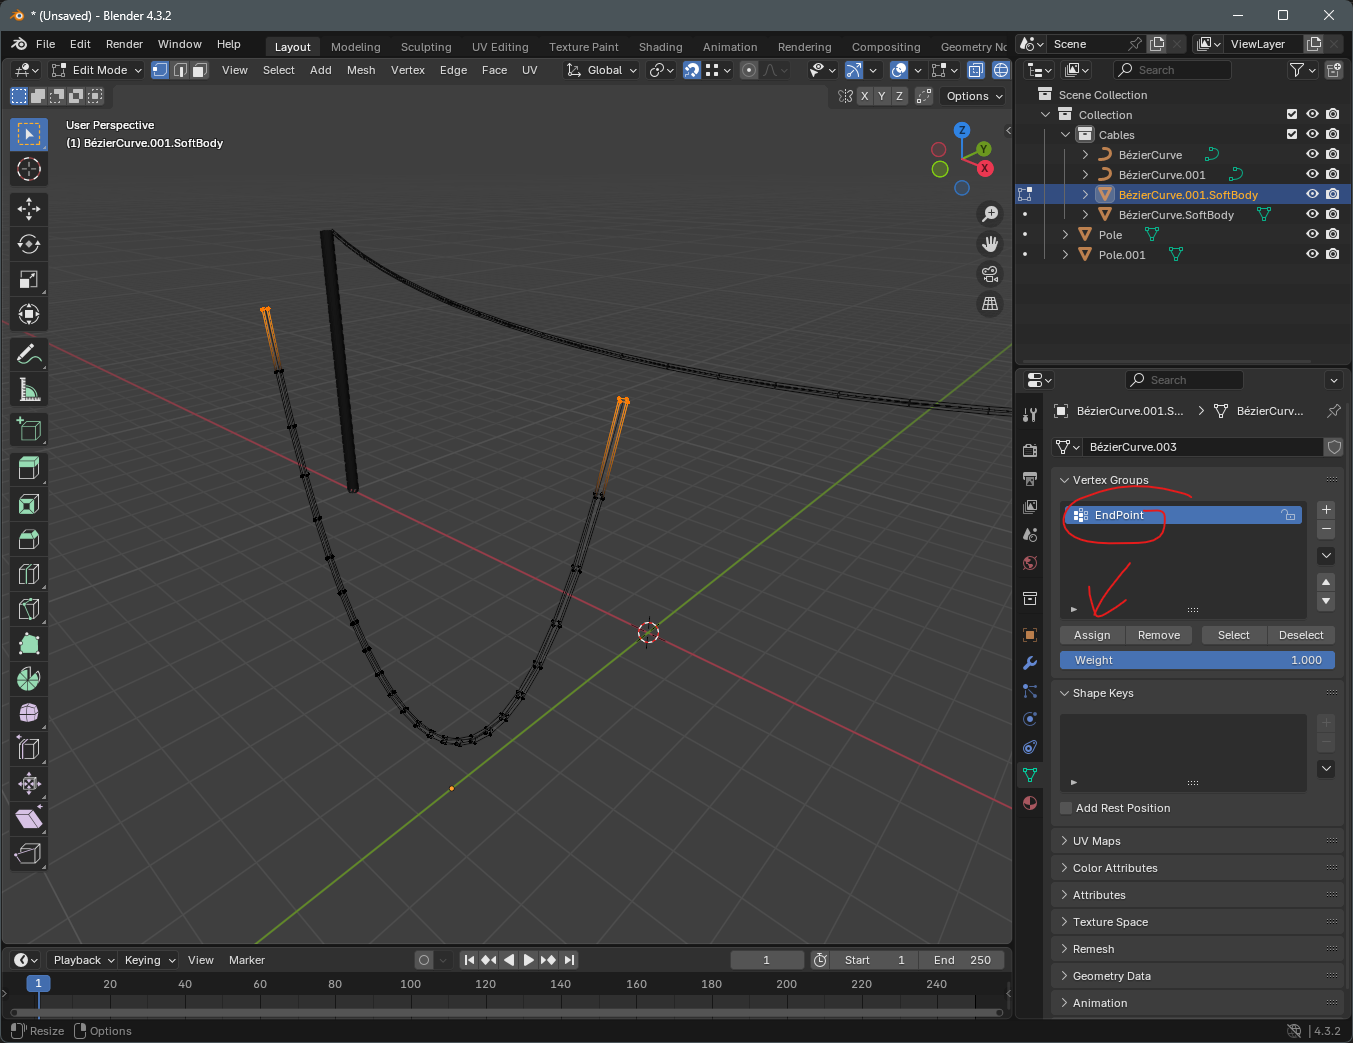
Edit the meshes and select all the vertices that the cable will hang from. Put these all into the same vertex group, here called "EndPoints".
Once you've got your cable soft body meshes, you can apply the Soft Body physics modifier on to them. Go through each one and in the Goal section, select your "EndPoints" vertex group. This will apply the vertex groups as the hanging points.
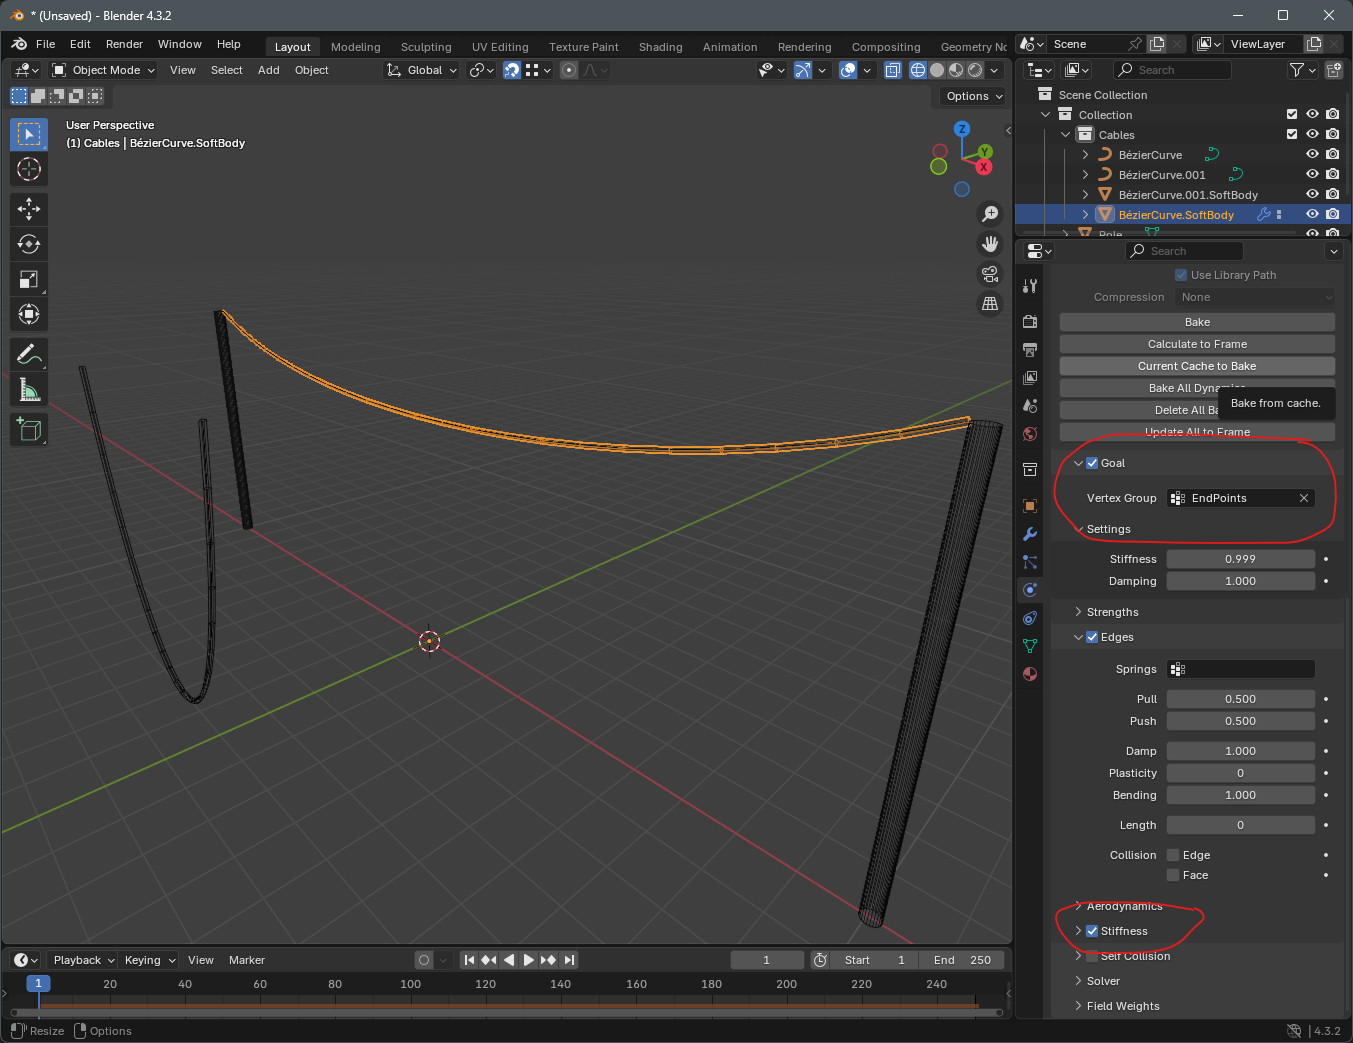
Pressing play will start the simulation, and it will actually look like cables hanging from something. There is some elasticity and the points that it hangs from won't always be in the exact same place. You'll have to test and compensate for this. Play around with the Mass, Stiffness, Damping and Bending values. There is a separate Stiffness section too.
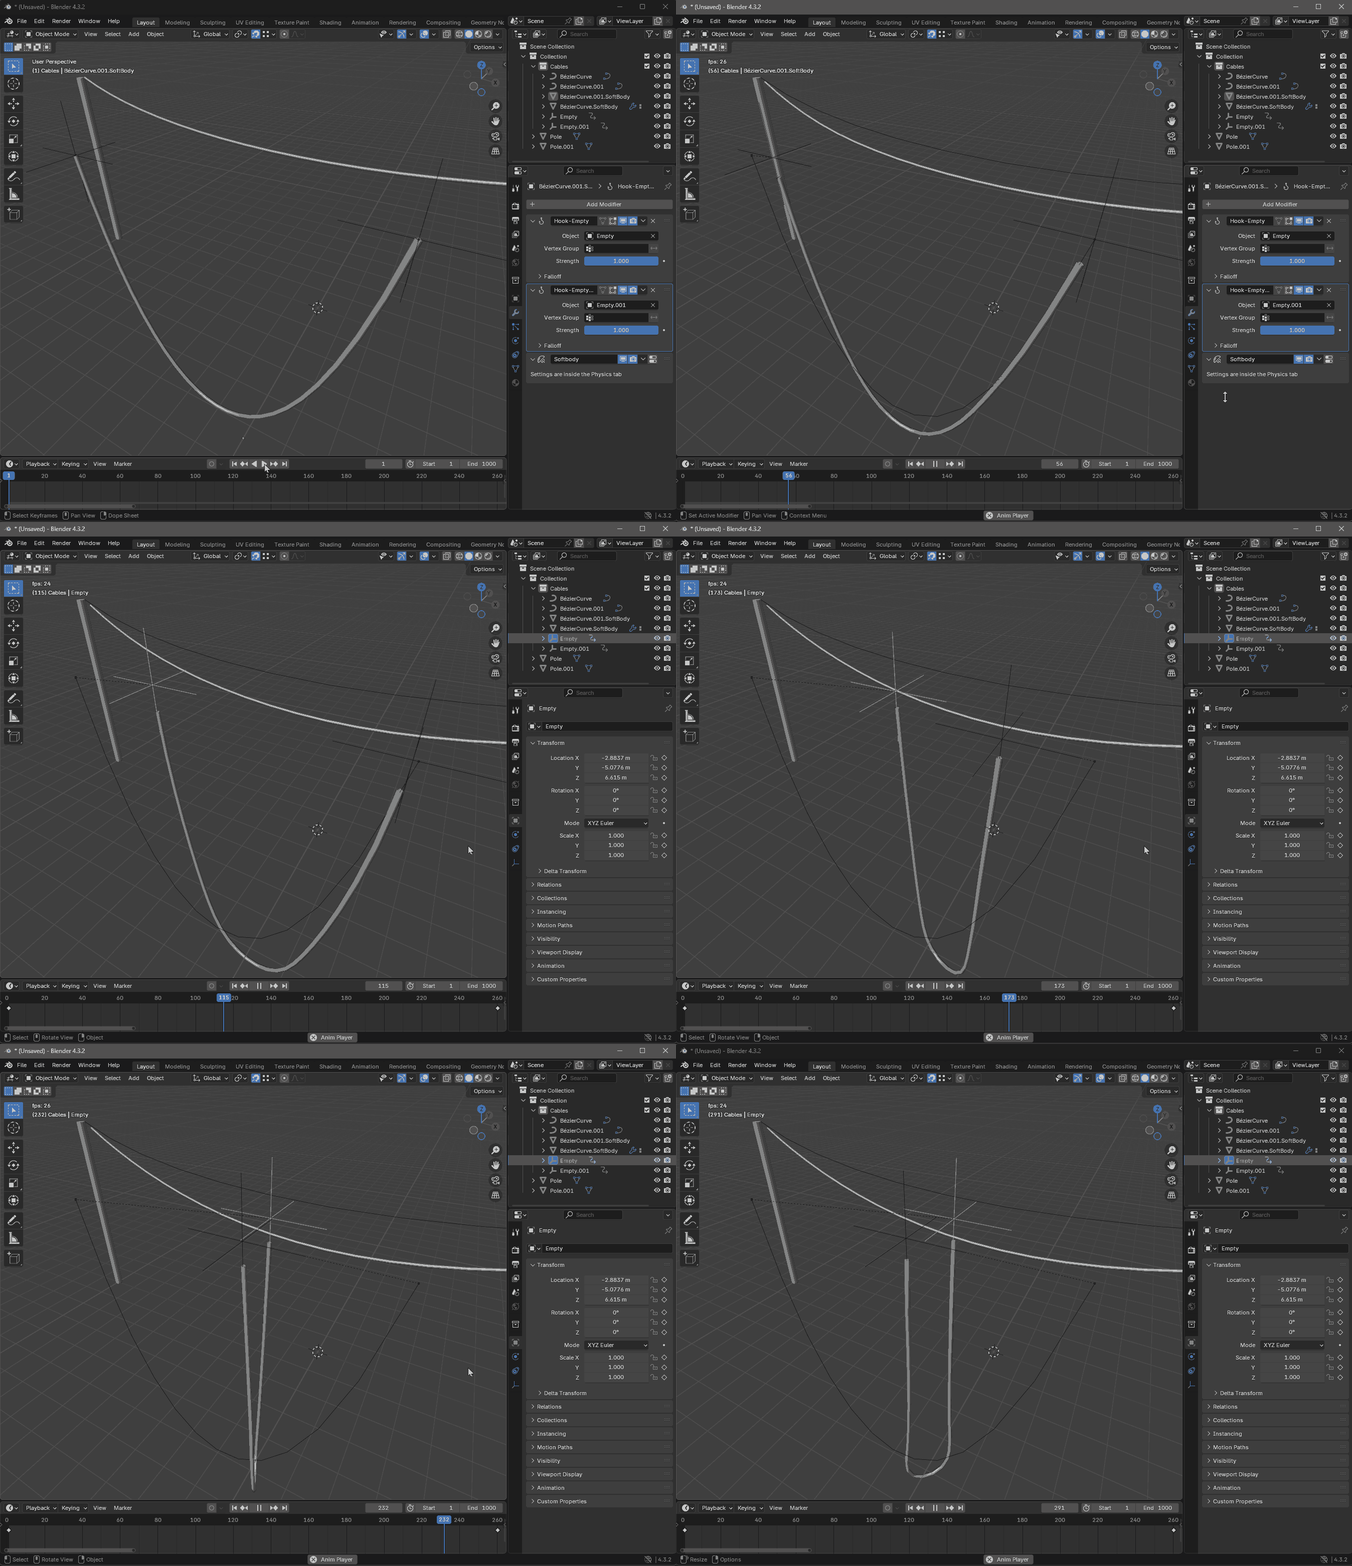
If you want to move the points these cables hang from, you need to Hook those vertices to an Empty. Edit the mesh and select one of the end point vertex groups. Press Ctrl + H and select to hook it onto a new object. Note that this shortcut key is the only method I know of to link the vertex selection with the Hook modifier. Manually adding the Hook modifier provides no way to associate it with a specific selection of vertices.
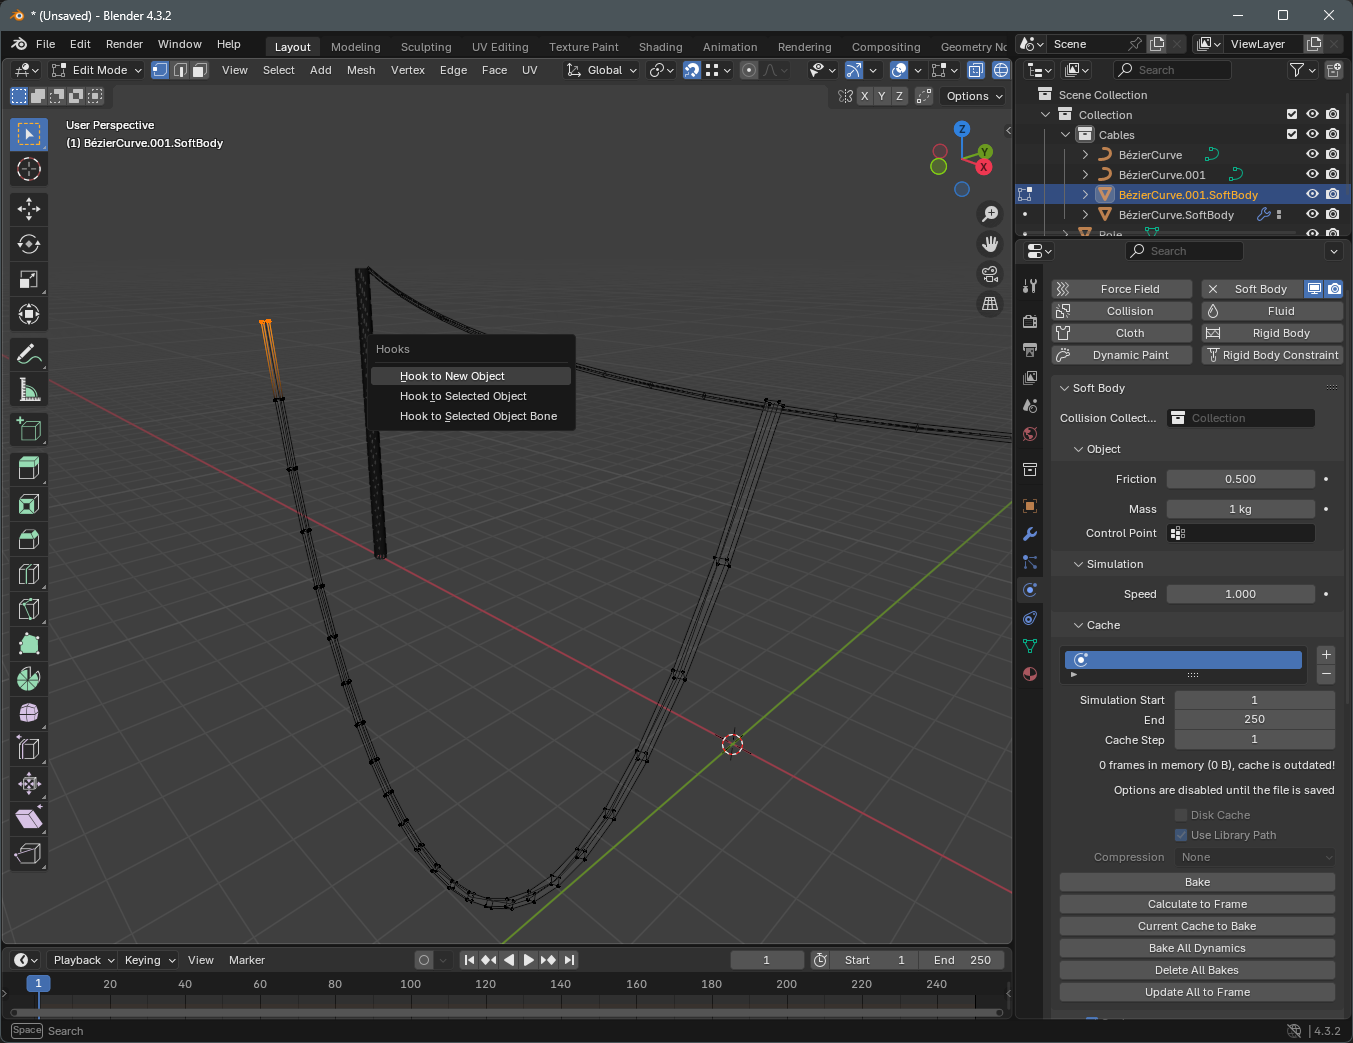
This will create a Hook modifier on your mesh. You need to move this to be above or before the Soft Body modifier.
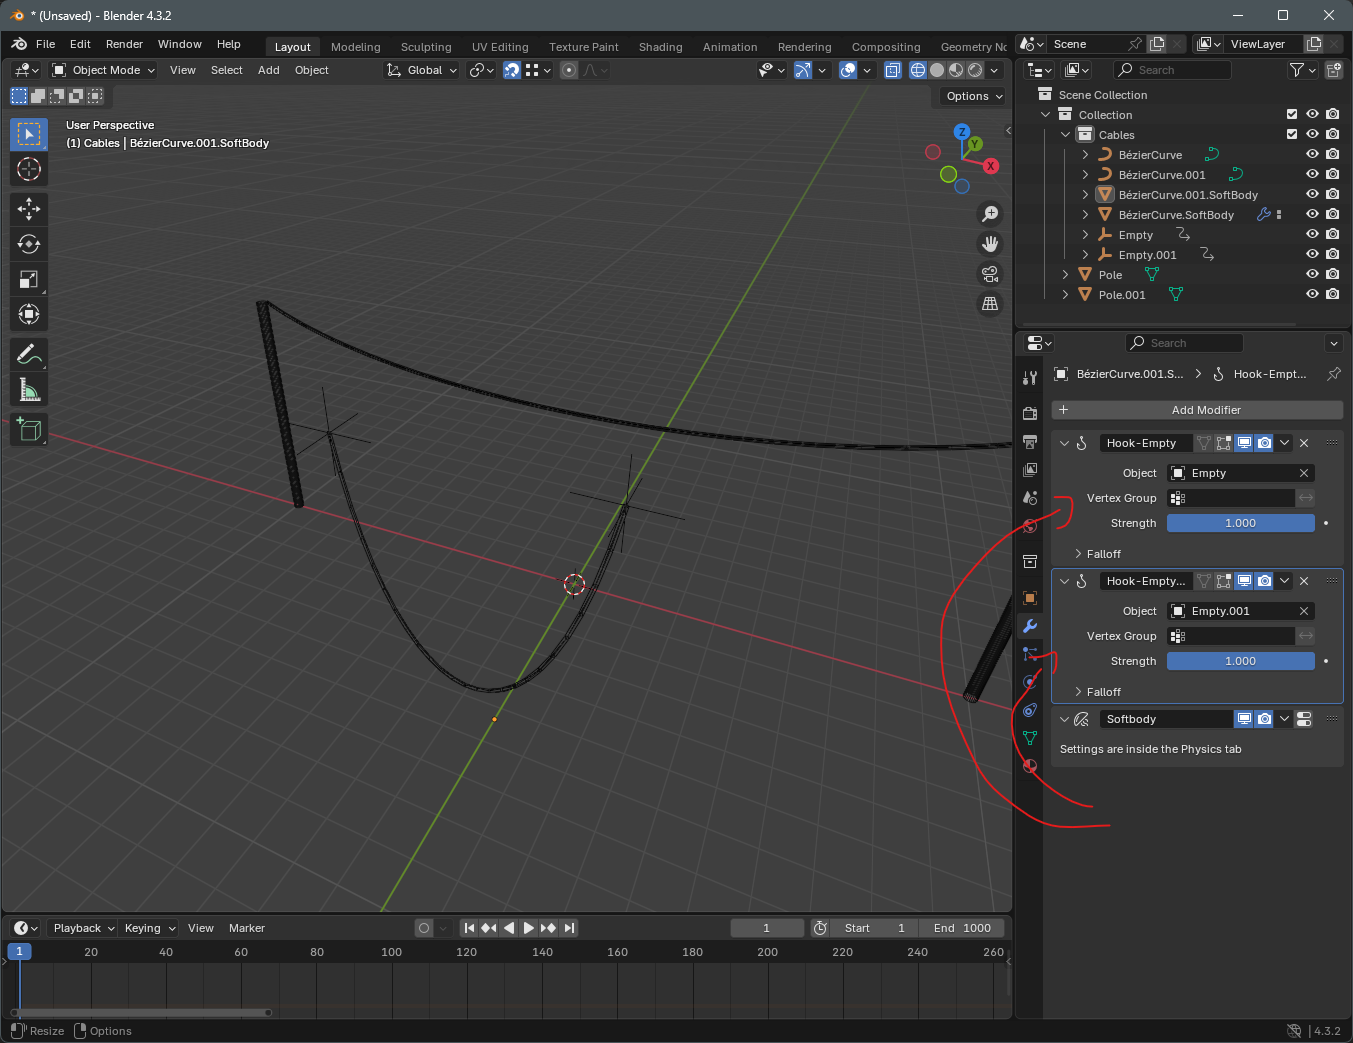
Now you can animate the new Empty objects and move them around. Your cable will conform accordingly.
