
Published on 3/22/2016
The last month or so saw some serious work towards completing the car's interior, including sealing and sound proofing. Finally I'm on the home stretch to complete this restoration!
During the final steps of assembly on the front and rear ends, I was contemplating putting the rubber seals on the windscreen frame and rear-deck back. It was pretty clear that I wouldn't be able to do this alone, what with trying to pry open the lip while also pushing the sealant in there with a caulking gun at the same time was impossible. But first I had to clean them out. The old sealant had to come out, and along with it years of dirt and grime. This stuff isn't like silicone which sort of hardens and dries. This sealant is more tar than anything else, and remains in this perpetual sticky state. It's a real mess to work with.
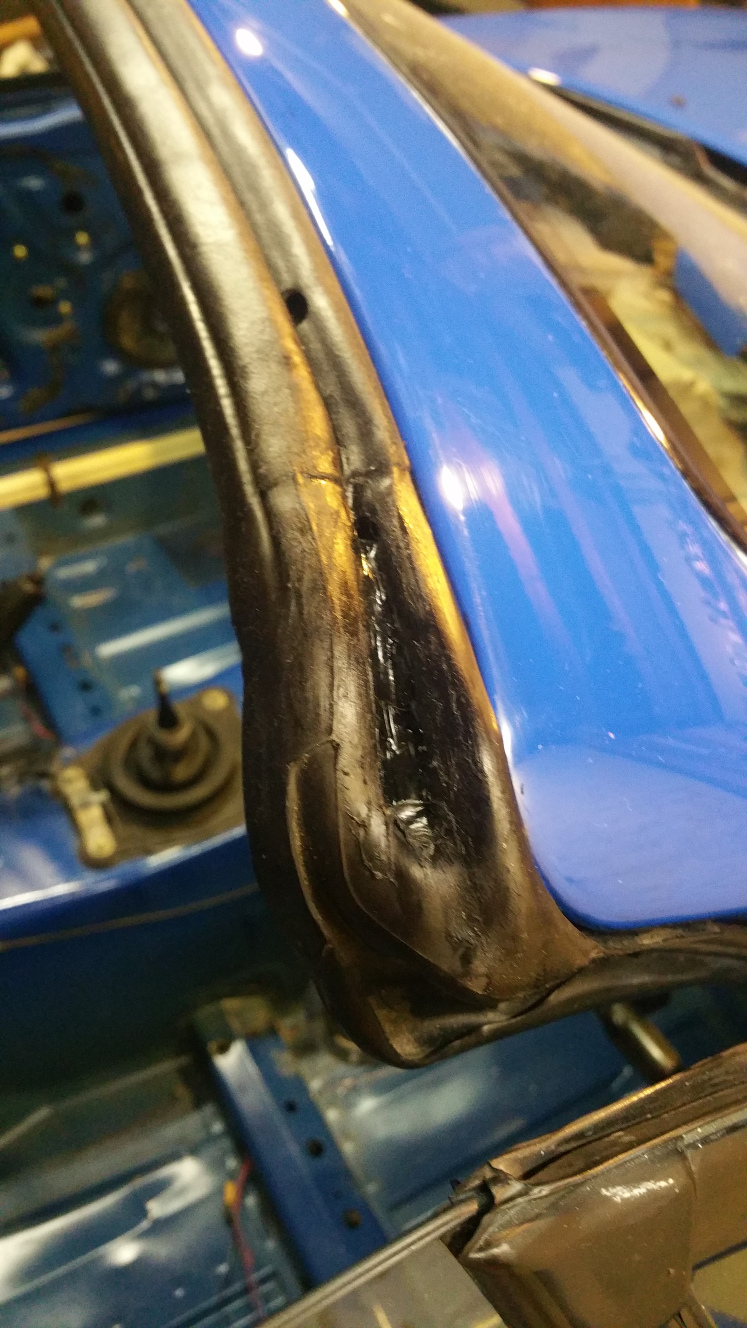
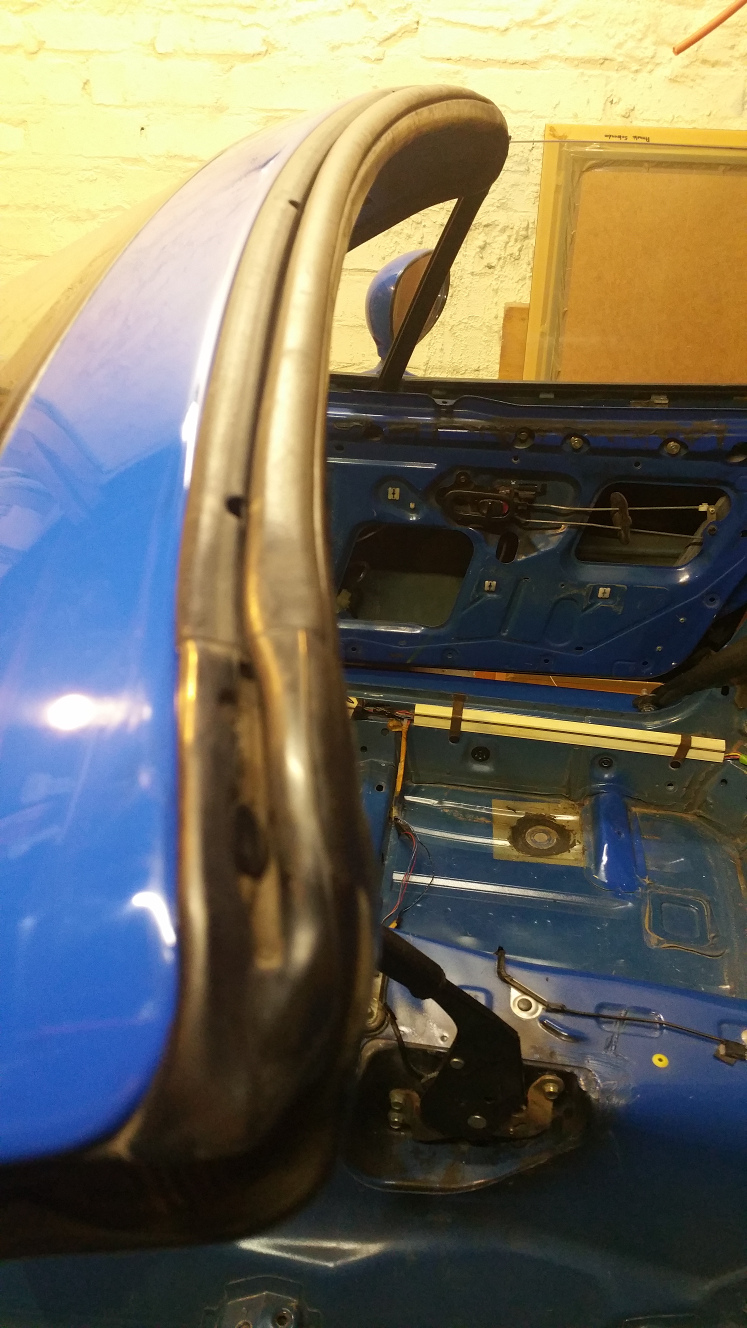
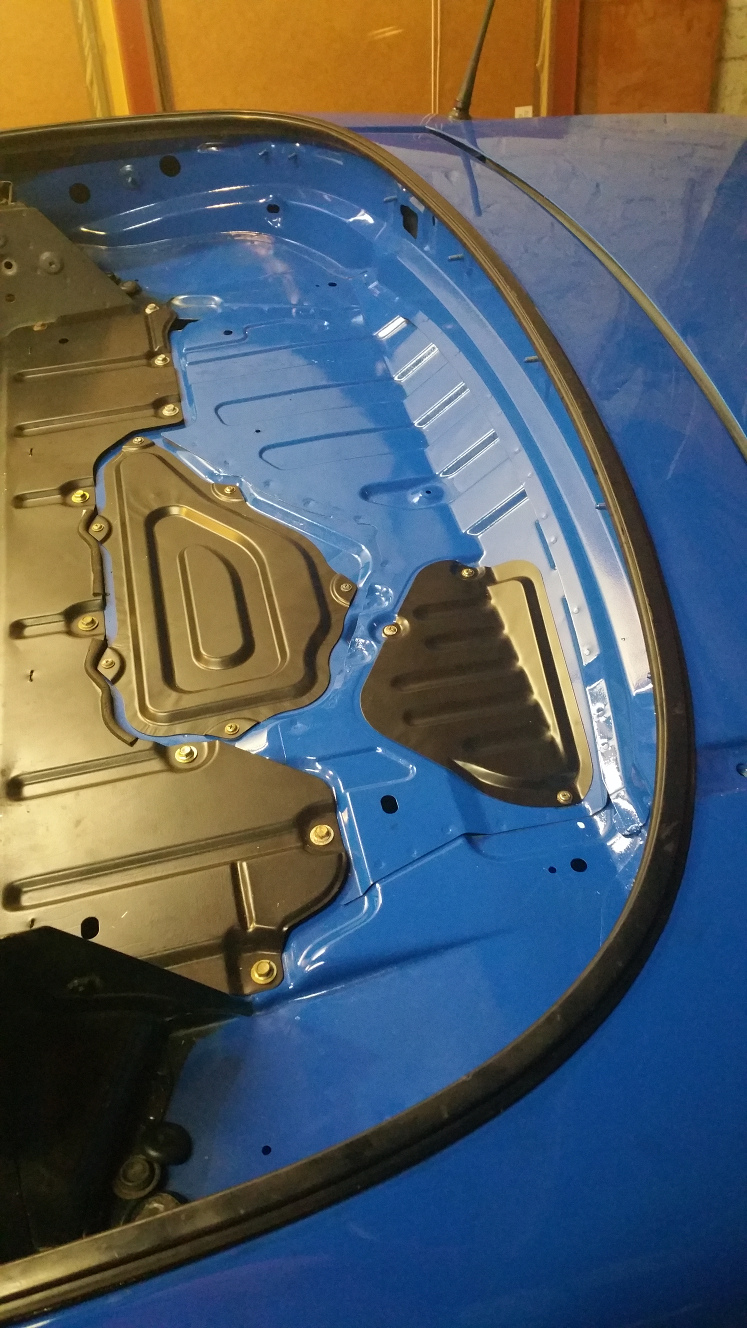
After some help from a friend and my wife the two rubbers were prepped, filled and pulled back into place over their mountings and plugs. The windscreen frame rubber was especially hard to work with since it's really floppy and pretty long too. During fitment I tore it a bit around one of the plug holes. To compensate I simply pushed more sealant in. The rear deck seal was much easier. This one is metal backed and doesn't flop around and touch and smear sealant on everything in a 5 meter radius. It was also much easier to fix into place. It's worth mentioning that getting the sealant in wasn't easy. It has an astronomically high viscosity, and pressing it out with the caulking gun is especially difficult and really hurts your hands after a while. Not to mention all the flexing you have to do is really tiring. I noticed on an MCM video that they were using an electric caulking gun. I don't know what those cost, but I would imagine it's much easier to work with. So with that done, I started doing the sound proofing.
When I took the carpet out there was a lot of insulation material that came off, either stuck to the car's floor or which simply just fell out. Of course this stuff is there for a reason, and unlike some motoring journalist I don't want to turn my car into a stripped out race car. So after contemplating taking it all to a motor-trimmer, some further research led me to Dynamat. It's not expensive, and really easy to fit. The biggest part of the work was cleaning out the interior properly - the one-on-one session with the methylated spirits was really interesting. So, hopefully this stuff is as good as they claim, and it also helps to shield against permeating heat from the drive-train.
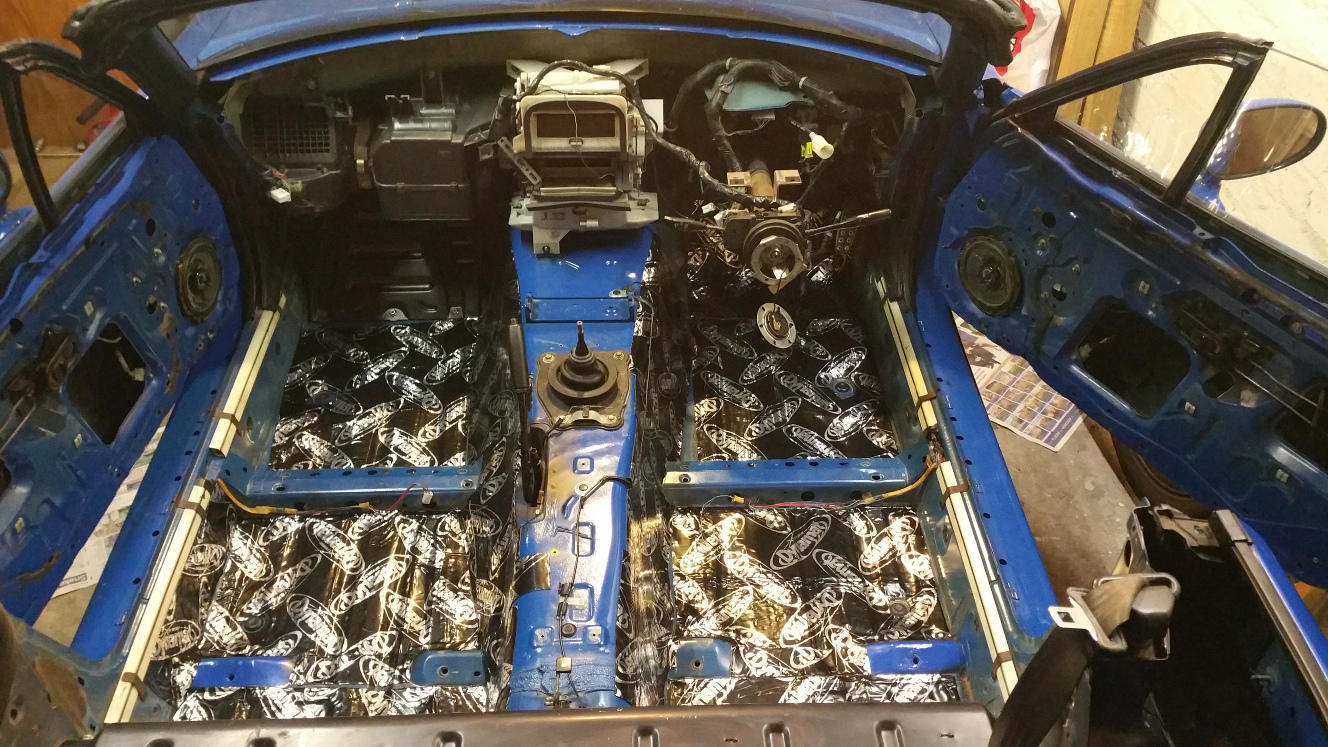
Next I put the carpet back, a process during which I cut my one finger to shreds on the one mounting stud over which the carpet had to be fed, going in underneath the heater box. Overall it was much easier fit compared to taking it out. I made sure that the speaker wires for the seats were pulled out, but I neglected to pull out the antenna lead. This will prove to be a problem later on.
The dashboard was of course a bit more trouble, since it's rather unwieldy, and putting it back means checking and placing a lot of plugs, looms and other bits like the speedo cable in the correct positions while maneuvering the dashboard. Fortunately this time around I had removed the steering wheel beforehand, which made the process a lot easier. After it was in place I started plugging things back - which almost immediately resulted in that particularly concerning burning electronics smell. Eeeek!
Being the amateur that I am, I had neglected to disconnect the battery beforehand. This wouldn't have been a problem if not for the alarm. Since it's on an always-live connection it immediately started polling it's sensors and switches, even though I had it bridged to not immobilize the car. However, with not all the plugs and sensors connected yet it had some sort of potential build up which literally turned one of the sensor wires into a heating element and promptly started melting off it's own insulation. Luckily it was isolated to that one sensor, and didn't appear to have damaged any other looms, plugs or whatnot. A bit of a "phew" moment for me there.
I have now started preparing the reassembly of the roof, which I'll detail in the next post. And then there is testing all the systems on the car too, electrical and otherwise. Lots to do still, but I'm so excited to be almost finished with this project!